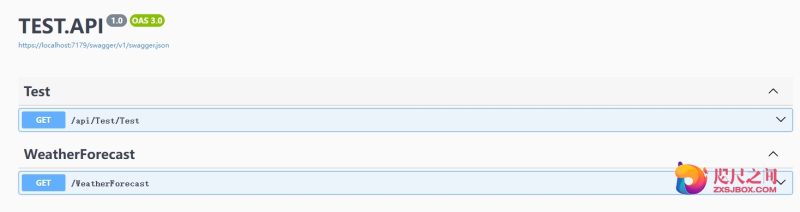

- 创建项目时自带的Swagger框架,缺少一些注释功能
- 需要封装一些代码,如果代码都放在Program.cs里就会显得很多,很乱。所以需要给他做下封装。在API项目中新增Business文件夹,新增SwaggerHelper.cs,再新增静态方法AddSwaggerSetup,来注册Swagger服务。
/// <summary> /// Swagger启动服务 /// </summary> public static class SwaggerHelper { /// <summary> /// Swagger /// </summary> /// <param name="services"></param> public static void AddSwaggerSetup(this IServiceCollection services) { if(services == null) throw new ArgumentNullException(nameof(services)); var ApiName = "TEST API"; services.AddSwaggerGen(options => { options.SwaggerDoc("v1", new OpenApiInfo { Version = "v1", Title = $"{ApiName} 接口文档— TEST API", Description = $"{ApiName} HTTPS TEST API v1" }); options.OrderActionsBy(o => o.RelativePath); }); } } - 然后再Program.cs 注册即可!
//注册Swagger builder.Services.AddSwaggerSetup(); - 编辑启动Swagger的方法
// Configure the HTTP request pipeline. if (app.Environment.IsDevelopment()) { app.UseSwagger(); app.UseSwaggerUI( c=> { c.SwaggerEndpoint($"swagger/v1/swagger.json", $"TEST.API v1"); // 路径设置,设置为空,标识直接根域名(http://localhost:5030)访问该文件, // 注意http://localhost:5030/swagger是访问不到的 // 去launchSettings.json 把launchUrl去掉 // 如果你想换一个路径,直接写名字即可 // 比如直接写 c.RoutePrefix = "test"; c.RoutePrefix = ""; }); } - 在launchSettings.json 把launchUrl去掉或者设置为空
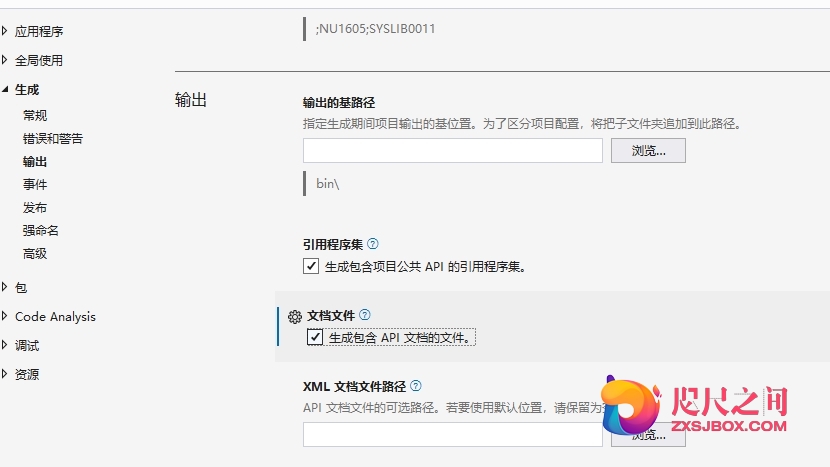
"profiles": { "http": { "commandName": "Project", "dotnetRunMessages": true, "launchBrowser": true, //"launchUrl": "swagger", "applicationUrl": "http://localhost:5030", "environmentVariables": { "ASPNETCORE_ENVIRONMENT": "Development" } }, "https": { "commandName": "Project", "dotnetRunMessages": true, "launchBrowser": true, //"launchUrl": "swagger", "applicationUrl": "https://localhost:7179;http://localhost:5030", "environmentVariables": { "ASPNETCORE_ENVIRONMENT": "Development" } }, "IIS Express": { "commandName": "IISExpress", "launchBrowser": true, //"launchUrl": "swagger", "environmentVariables": { "ASPNETCORE_ENVIRONMENT": "Development" } } - 添加接口注释 右键项目 -> 属性 -> 生成 -> 输出
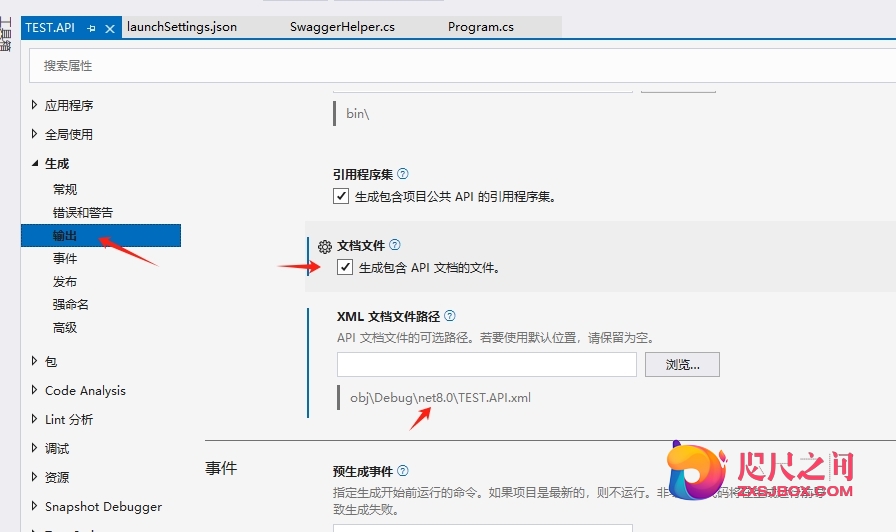
- 修改SwaggerHelper中添加支持代码
services.AddSwaggerGen(options => { options.SwaggerDoc("v1", new OpenApiInfo { Version = "v1", Title = $"{ApiName} 接口文档— TEST API", Description = $"{ApiName} HTTPS TEST API v1" }); options.OrderActionsBy(o => o.RelativePath); var xmlPath = Path.Combine(AppContext.BaseDirectory, "TEST.API.xml"); //这个就是刚刚设置的xml文件名 options.IncludeXmlComments(xmlPath,false); }); - 修改后控制器内会显示很多提示
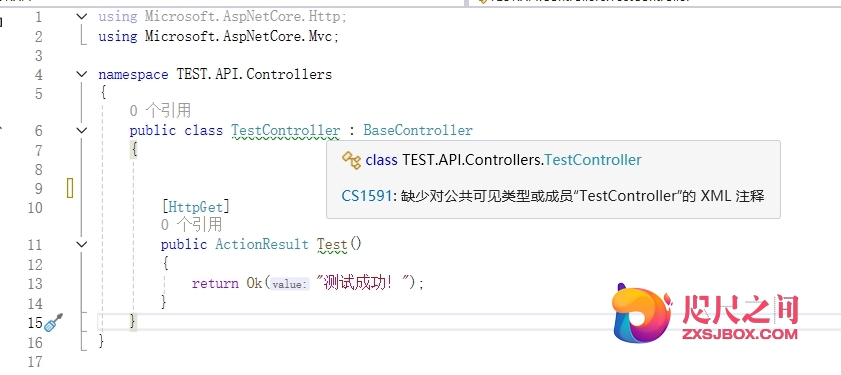
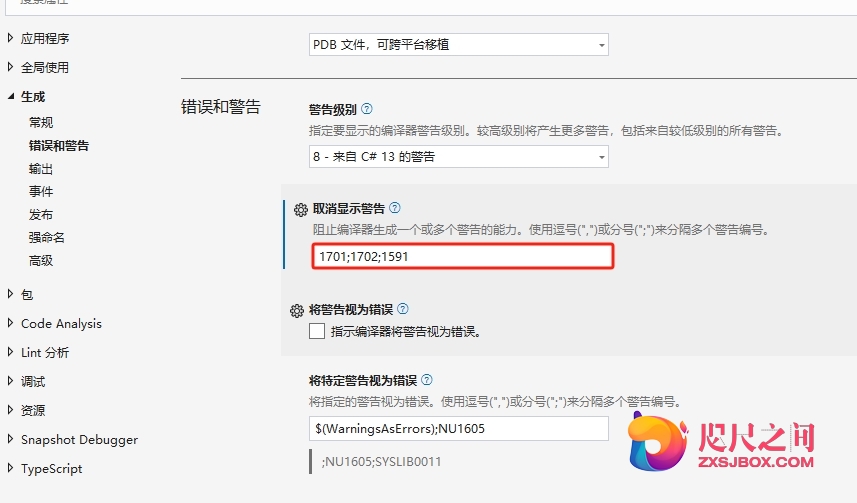
- 在项目右键->属性->生成->错误和警告中添加1591
- 给控制器和方法上增加注释
/// <summary> /// 测试管理 /// </summary> public class TestController : BaseController { /// <summary> /// 测试 /// </summary> /// <returns></returns> [HttpGet] public ActionResult Test() { return Ok("测试成功!"); } } - 新增类库项目TEST.Entity Student.cs
/// <summary> /// 学生 /// </summary> public class Student { /// <summary> /// ID /// </summary> public string ID { get; set; } /// <summary> /// 姓名 /// </summary> public string Name { get; set; } /// <summary> /// 年龄 /// </summary> public int Age { get; set; } } - 添加接口注释 右键项目 -> 属性 -> 生成 -> 输出
- 修改SwaggerHelper中添加支持代码
var xmlEntityPath = Path.Combine(AppContext.BaseDirectory, "TEST.Entity.xml");//这个就是Model的xml文件名 options.IncludeXmlComments(xmlEntityPath); - 在TEST控制器内增加获取学生方法
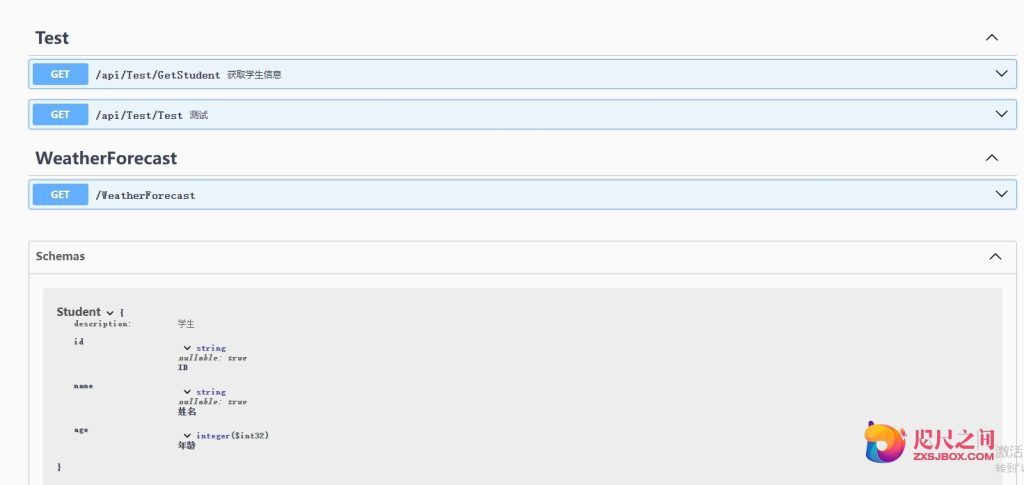
/// <summary> /// 获取学生信息 /// </summary> /// <param name="student"></param> /// <returns></returns> [HttpGet] public IActionResult GetStudent(Student student) { return Ok(student); } - 运行后发现实体类也有注释了
© 版权声明
文章版权归作者所有,未经允许请勿转载。
THE END
暂无评论内容